
6 ways to optimize OS imaging

Any organization with an IT infrastructure has to deal with imaging and deploying operating systems to its workforce. Frequent onboarding of employees can cost huge amounts of time and effort for the IT team.
Depending on the number of machines, the effort involved in migrating and upgrading operating systems can also be significant. This can be streamlined with the help of a comprehensive OS imaging and deployment solution allowing the IT team to focus on other productive tasks.
To get the most out of your OS imaging, let's discuss the 6 best practices to be followed.
Ramp down your RAM: Memory level
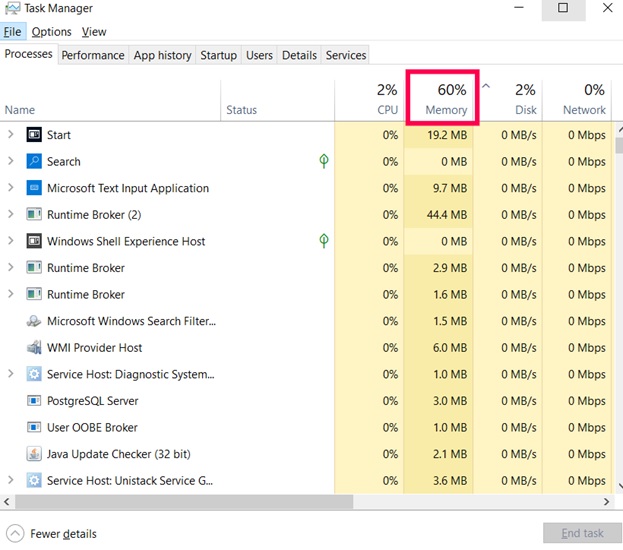
The memory level of the computer to be imaged should be low for a quick and efficient image creation process. This can be verified from the Processes tab of the task manager.
A comprehensive OS imaging and deployment solution like OS Deployer will offer you the option to select the required memory level to be used during imaging. If there are other applications running while imaging, you can select the memory level as low. Whereas if the machine has no other applications running, the memory level can be selected as high, since the RAM consumption will not affect any other process and the imaging will be faster.
Heart of the matter: Check for OS partitions
For seamless imaging and deployment, ensure that the following partitions are included in the imaging process:
- System/firmware partitions: In short, the system/firmware partitions are a portion of the hard disk that contains the software to boot the operating system. These are created for GUID-Partition-Table-style disks.
- System-reserved partitions: Similarly for Master-Boot-Record-style disks, system-reserved partitions are created. These partitions contain the boot manager and the boot configuration data and are used to boot the operating system.
- OS partitions: These partitions contain the OS file and file systems necessary for booting and deployment.
These partitions must be included in the OS image as they're required to boot the system after OS deployment.
Intruder alert: Check for external devices
Ensure that you do not connect or disconnect any external devices to the machine during the imaging process. When it is connected, the newly detected registry components might interrupt the imaging process.
Clear your clutter: Naming image files
Follow a comprehensive naming convention for all your images where the names are unique and easy to recognize. Frequent changes in the name of the image after creation might make the image inaccessible, resulting in deployment errors. Stick with a single name and avoid frequent changes.
Disable bitlocker encryption
Accurately identifying the storage location of the data present in the hard disk is essential for retrieving and deploying the data to the target computer. That's why disabling the bitlocker encryption during imaging is essential, as it can hinder the identification of contents present on your hard disk.
You can use the following methods to disable bitlocker encryption in all your Windows operating systems:
- Using Windows command prompt
- Using Windows GUI mode
- Using Windows PowerShell mode
For a detailed explanation, refer to this document.
Why carry extra: Shrink partitions
A common scenario during imaging and deployment is that the target disk size is smaller than the image size. To navigate such situations, you can choose to shrink the partitions present in your image to reduce the image size.
This reduction in image size allows users to deploy the image even on target disks of lesser size. Also, you can choose to remove unnecessary partitions during imaging, thereby reducing the size of the image. For example, data partitions containing user data can be removed as they don't have OS files, file systems, and files necessary for booting.
Conclusion
OS imaging and deployment is a complex and tiresome process that can be streamlined with the help of comprehensive solutions like OS Deployer. However, following the above-mentioned best practices during imaging can help you accelerate the whole process and optimize your time and effort.
Download our free e-book for more such best practices to get the most of your OS imaging and deployment process.