
5 best practices for imaging hard drives

Imaging a machine with the relevant OS and disk partitions is the first step involved in OS deployment. You can either image machines that are online with applications running or machines that are shutdown. In this section we will discuss the five best practices to be followed while imaging.
Ensure uninterrupted power supply
The speed at which the imaging process happens depends on three factors:
- The size of the hard disk
- The RAM capacity of the computer that is imaged
- The bandwidth of the organization's network
The imaging speed determines the duration of the imaging process, and it's essential to ensure uninterrupted power supply for the entire duration. Losing power during the imaging process could lead to an error in disk imaging and even failure. The IT team must ensure that the system in which imaging is performed does not lose power during the imaging process.
Why copy empty spaces: Disk defragmentation
Techopedia defines defragmentation as "the process of moving the data blocks on the hard drive around to bring all the parts of a file together.".
Whenever you add a new file or modify an existing file in your hard disk, there is a possibility for disk fragmentation. During modification, fragmentation occurs if there is no contiguous space next to the old file, resulting in the modified file being stored in another location.
Defragmentation ensures seamless access to the hard disk by arranging the parts of a file continuously, thereby optimizing storage capacity. Easier access to hard disk will accelerate data recovery, resulting in faster image creation.
Follow the steps below to defragment a disk:
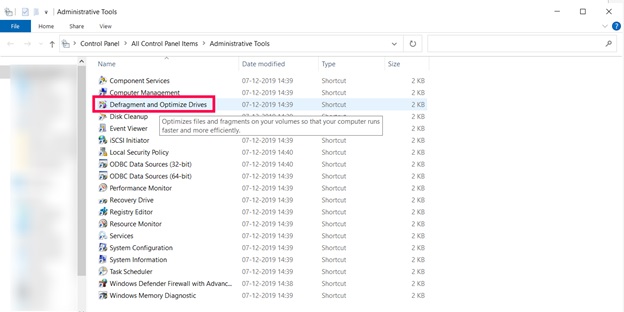
- Go to Control Panel > Administrative Tools

- Select Defragment and Optimize Drives.
- Select the drives that you want to defragment and click Analyze.
- Once the drives are analyzed, click Defragment.
Sharpen your axe before chopping the tree: Repair bad sectors
A logical bad sector can be a portion of your hard disk that is malfunctioning due to software errors. These errors can be the result of sudden power outages, improper data, file system errors, viruses, malware, etc.
To identify and eliminate logical bad sectors in your target machine, you can use the CHKDSK command. This command scans the computer, spots the logical bad sector in your hard disk, and repairs it, ensuring an error-free hard drive for imaging.
The steps given below explain the whole process in detail:
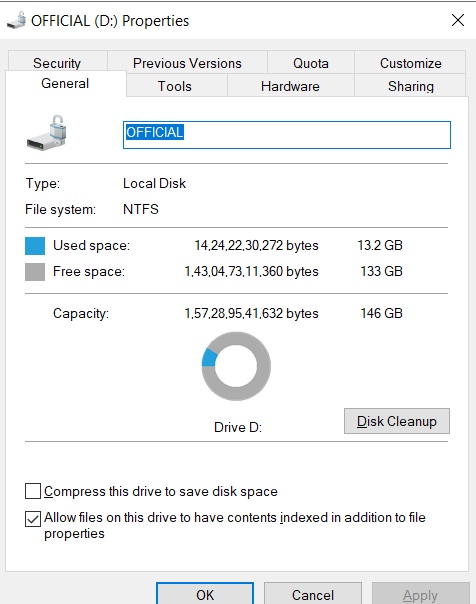
- Open File Explorer and right-click the drive you want to analyze for logical bad sectors.
- Select Properties.
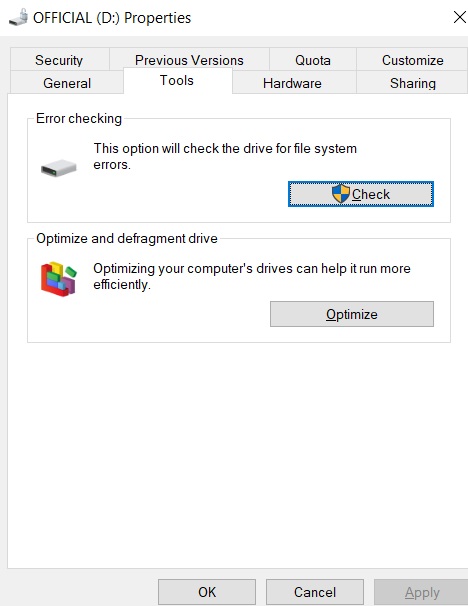
- Select the Tools tab and click Check.
- Click Scan drive to initiate the process.
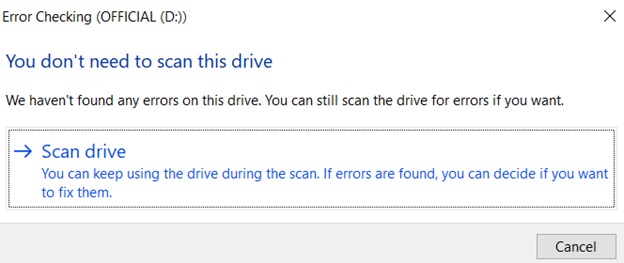
- After successful completion, click Close to complete the process.
Patch up: Check for patch and software updates
Ensure there are no ongoing Windows OS patch updates or any software installation processes in the target machine. If the image creation process is initiated during such circumstances, the pending updates will be reflected in all the computers where the image is deployed.
Instead of updating in a single console, these patches and applications will have to be updated in all the image-deployed machines. Partial OS and application updates may also lead to boot errors after deployment. So it's better to ensure the image-captured computer is updated with the latest patches and other relevant applications.
Lower your disk usage
The storage capacity that your computer currently uses is termed disk usage. This is a performance-related metric indicating the amount of work being done by the computer at any given moment.
If the image creation process is initiated when disk usage is already high, the process might be slow or the machine might even freeze. This is why it's advisable to wait for any existing processes to finish or to kill them before image creation.
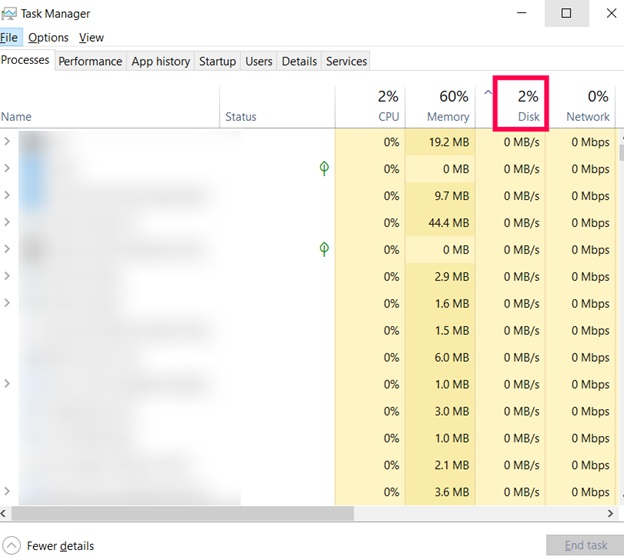
To see your Windows machine's disk usage, open the Task Manager in the computer to be imaged. From the Processes tab, you can check the disk usage of the computer.
Conclusion
OS imaging and deployment is a complex and tiresome process that can be streamlined with the help of comprehensive solutions like OS Deployer. However, following the above-mentioned best practices during imaging can help you accelerate the whole process and optimize your time and effort.
Download our free e-book for more such best practices to get the most of your OS imaging and deployment process.